Underwater Camera Floods: Avoiding the High Water Mark
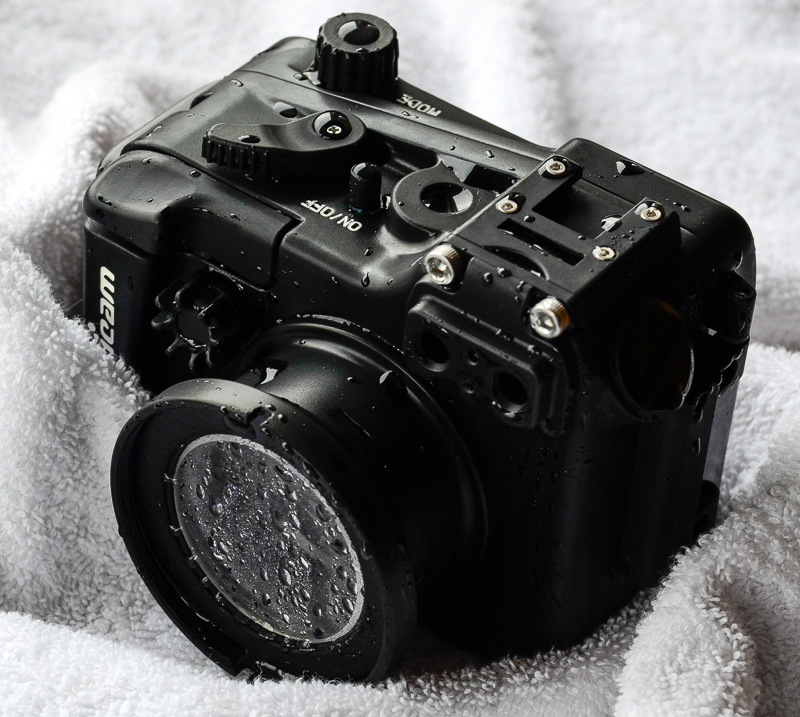
No subject scares underwater photographers more than having an expensive housed camera turn into an aquarium. Even a bit of water can turn electronics into a corroded mess.
Here are a few general tips on maintenance that should help you avoid finding Nemo in your housing:
1) Read the manufacturer’s instructions. Please carefully read through it. Housings all vary in care and feeding. For example, housings all have different depth ratings, or have carrying ways of adding a sync cord. Some have all the controls, many have fewer housing controls than on the camera, with some doing multiple actions. Some o-rings are not removable but need to be wiped off. Some housings have controls that are user-serviceable, some don't. Read the manual to find out.
2) O-rings are probably the most important and miss-serviced parts.
In addition to the large, noticeable oring on the back cover, every control has one or two, as well as the ports, and strobe or other bulkheads. Some are black, some are blue or grey, most should be serviced, and some should not.
If you don’t need to service an o-ring, don’t. A sealed o-ring will remain so unless disturbed, such as cleaning. A good example is a port: there is no need to service a port o-ring between dives if it is not removed or changed.
Tuesday, March 11, 2014
Sunday, March 9, 2014
Choosing an Underwater Photography Lighting System
What’s Right for You? – by Denise Kitchel
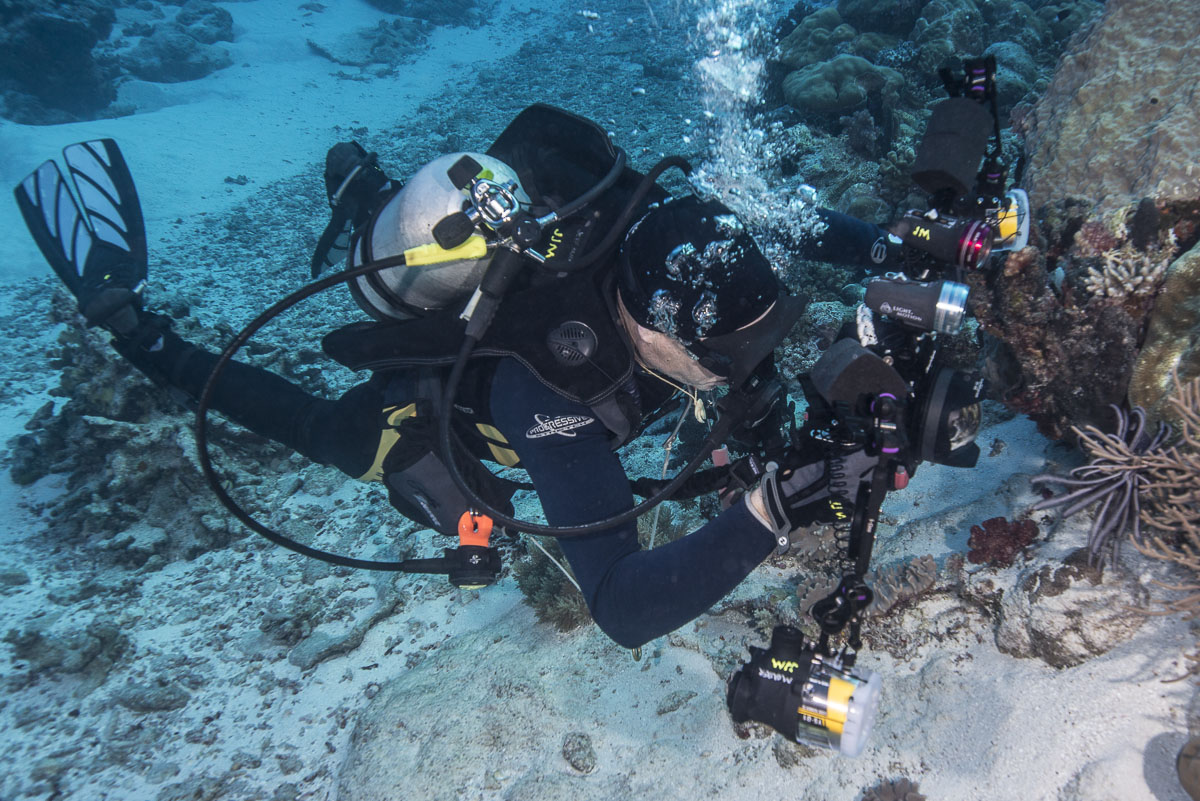
Why do I need a lighting system?
That might seem like a silly question, but it is not always obvious to people what factors are involved in determining how much lighting they need. There are a few things that determine the amount of color saturation and image clarity in underwater photography: depth, ambient light, and water clarity. By adding to the available natural light, you’ll be able to improve the color saturation, sharpness and clarity of your photos.
Underwater Depth and Color
Think about rainbows; they are a vision of light refracted into individual colors through rain (drops of water). So, it’s only natural that when we’re under water, colors change based on the light from above being refracted and absorbed by the water. Each color is a different wave length and energy level, which means that each color absorbs at a different rate.
Colors vanish underwater in the same order as they appear in the color spectrum.
Similarly, the light from your system will have to travel 10 feet to the subject you’re shooting and reflect 10 feet back to the camera lens, for a total of 20 feet. Keep this in mind when setting up your shots. The closer you get, the better the color.
Mind Games
The interesting thing is that our brains are wired to compensate for the loss of color. We see a familiar object under water and we see red, because we know it is red, but when we take a photo of it with only natural light, there is no red. So, you actually need lighting when you don’t necessarily think you do.
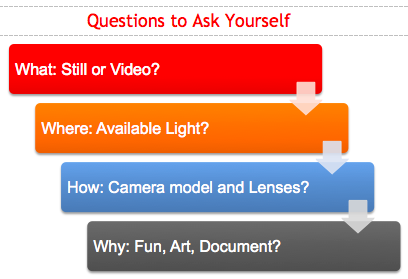
Where do I start?
To choose the right underwater lighting system, you will have to think about a number of things: What kind of photography will I primarily be shooting, stills or video? What subjects will I be shooting? What will the available light be like where I dive? What kind of camera, housing and lenses will I be using? Why am I taking photos and what do I plan to do with them?
Once you have answers to these questions, you’ll be well on your way to picking out the right components you need in order to put together a lighting system that will take your photos to a whole new level!
Why do I need a lighting system?
That might seem like a silly question, but it is not always obvious to people what factors are involved in determining how much lighting they need. There are a few things that determine the amount of color saturation and image clarity in underwater photography: depth, ambient light, and water clarity. By adding to the available natural light, you’ll be able to improve the color saturation, sharpness and clarity of your photos.
Underwater Depth and Color
Think about rainbows; they are a vision of light refracted into individual colors through rain (drops of water). So, it’s only natural that when we’re under water, colors change based on the light from above being refracted and absorbed by the water. Each color is a different wave length and energy level, which means that each color absorbs at a different rate.
Colors vanish underwater in the same order as they appear in the color spectrum.
- Red – The first to disappear, you may see a noticeable difference in red at 5ft and a complete loss at 15ft.
- Orange – The next to go, oranges will be lost at between 25 and 30ft.
- Yellow – Next are yellows, which fade at 35 to 40ft
- Green – The last to go are greens at anywhere between 50 and 75ft.
Similarly, the light from your system will have to travel 10 feet to the subject you’re shooting and reflect 10 feet back to the camera lens, for a total of 20 feet. Keep this in mind when setting up your shots. The closer you get, the better the color.
Mind Games
The interesting thing is that our brains are wired to compensate for the loss of color. We see a familiar object under water and we see red, because we know it is red, but when we take a photo of it with only natural light, there is no red. So, you actually need lighting when you don’t necessarily think you do.
Where do I start?
To choose the right underwater lighting system, you will have to think about a number of things: What kind of photography will I primarily be shooting, stills or video? What subjects will I be shooting? What will the available light be like where I dive? What kind of camera, housing and lenses will I be using? Why am I taking photos and what do I plan to do with them?
Once you have answers to these questions, you’ll be well on your way to picking out the right components you need in order to put together a lighting system that will take your photos to a whole new level!
Subscribe to:
Posts (Atom)