Sunday, June 29, 2014

Do I Really, Really Need a Strobe?

By Bill Van Antwerp
One of the more common questions we get asked, particularly from newer underwater photographers is “I am going to shoot some photos and some video; do I really need a strobe and a focus/video light or can I get buy with just a light?”

To answer the question I set up some tests both in the studio and while diving from the Conception at San Miguel Island (Channel Islands, CA). In the studio setup shown below, I set up a “mandarin fish” in a bed of rocks. The fish is about 2 inches long. For the test in the studio and in the water, I was shooting an Olympus OMD-EM5 in a Nauticam NA-EM5 housing with 2 Sea and Sea YS-D1 strobes using the 12-50 Olympus lens in the Nauticam focus port. For continuous lighting, I used either one or two Light and Motion Sola 1200s, iTorch Pro 6s or Nocturnal Lights M700i.

Figure 1 –Setup in Studio
In the fashion and portrait studio world, LED lighting is becoming wildly popular because with studio LED panels both the color temperature and the brightness can be adjusted on the fly. Underwater we have no such luxury and none of the three lights that we tested had continuously variable intensity levels, but rather two (Nocturnal) or three (iTorch and L&M) levels of brightness.


Figure 1: The setup at left shows two strobes and a single focus light; for the case of two lights the lights were placed where the strobe are shown.

Figure 2 – 1/250th, f/22, ISO 200, 2 YS-D1 Strobes.


Figure 2:
For a baseline, I shot my mandarin fish at 1/250th of a second and f/22 at the native ISO of the camera, 200. The photo above shows the results of this shot with both YS-D1 strobes set at 0 power. A flash meter reading suggested F/18 for this shot and notice the background is a bit dark but overall this is well exposed and notice that the depth of field is quite large.

One advantage of shooting with strobes is that you can have exquisite control of the depth of field by manipulation of the aperture. Below is a shot of the fish at 1/250th and f/6.3 (the minimum of this lens). The strobes were shot at minimum power for the strobe on the left and 1 notch above minimum power for the strobe on the right allowing for adjustment of the darkness of the shadow on the left rear of the photo.

Saturday, June 14, 2014

Sea of Cortez: The Only Sure Thing is Whale Sharks!

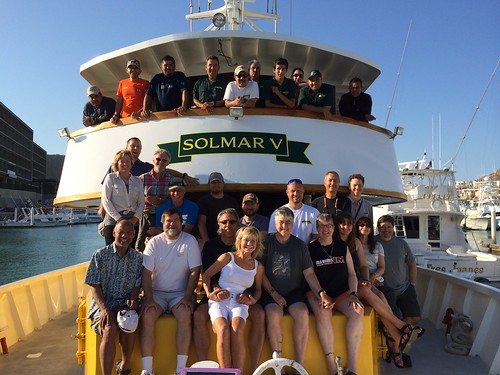
Twenty-one underwater photographers boarded the Solmar V dive boat in Cabo San Lucas, Mexico, on June 23rd expecting to steam the next 25 hours to the Revigadagos Islands, aka "The Socorros", 250 miles offshore. Alas, "Amanda" had other ideas.

Having built up to a Category 4 Hurricane, Amanda was an early violent storm a few hundred miles south of Socorro Island and heading straight for the area we were to dive. Needless to say, the Captain told me that we had to make a big change and head north into the Sea of Cortez. I had taken several trips to the Sea of Cortez ten years ago, but I hadn't enjoyed the long runs to the dive sites from shore. This would be a great opportunity to re-explore it from the comfort of a large live-aboard.

The good news was that the diving there is pretty good, and we could be diving the next morning in Cabo Pulmo.

After a checkout dive, we dropped on the wreck of an old tuna boat, descending right through 9 large bull sharks. Enjoying large schools of grunts and snappers. We explored what was left of the old boat, really just a few large pieces, seeing the large sharks circling in and out amongst our group in somewhat murky conditions.
Continuing north towards La Paz, we dove La Reina and Swanee Rock, both teaming with life. Diving in the Sea of Cortez is very "fishy" with huge schools of grunts, snappers, goatfish and others on nearly every site. Friendly pandemic green morays also greet you from almost every hole. Corals are mostly hard, and not all that colorful, so the aquatic fish life is what you go for. Yellowtail sturgeon fish, puffer fish of every variety, colorful hawk fish, and grouper abound on nearly every site.

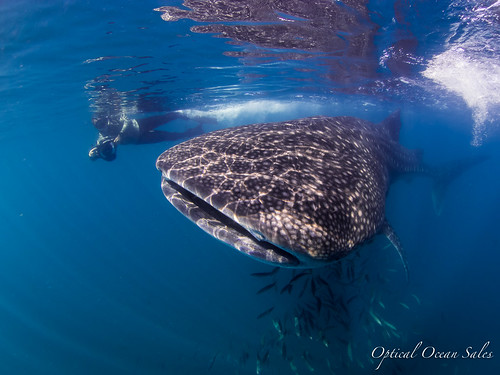
However, with a boat load of photographers bent on looking for large animals, we decided to take some chances. Whale Sharks are found in La Paz bay in the Spring; but there had been no reports so far. Would we spend a half-day to cruise the bay and most likely find nothing? A multi-cultural debate raged that evening over dinner, as the French contingent felt the whale sharks weren’t guaranteed, but were finally out voted.

Tuesday, June 10, 2014

Lenses for Underwater Photography

Buying the best lenses - and ports to use them in, can be a long-term value investment. Lenses and ports can be used over and over as you buy new cameras. Buying high-quality lens solutions as you can afford them is the best plan. However, planning what lenses to buy and what format to invest in is a very important decision.

Most cameras come bundled with an inexpensive “kit” lens. These vary in value underwater, but generally aren’t wide enough, focus close enough, or offer the best sharpness to be used well underwater. The extra expense of extensions, gears and ports can make these “inexpensive” lenses poor investments in the long run. Many new underwater photographers end up selling them after a short while after being disappointed with the results.

Underwater we generally want three general focal length ranges of lenses; all with the idea of getting as close to our subject as we can. Water absorbs light, color and clarity; eliminating as much of it as we can gives us the best results.

Those ranges are ultra-wide (usually fish-eye), mid-range zoom, and macro. Ultra-wide fisheye lenses yield the best corner sharpness, due to the loss of one-third of our field of view underwater, they become rectilinear. Their “round” corners match the dome ports that replace much of this loss of field of view. Normal wide-angle rectilinear lenses, as great as they are above water, generally don’t focus as close, not have the corner sharpness we desire, due to refraction.

For more information about what lenses we recommend please see our Guide article in our Educatiion section of the store site.

Saturday, April 12, 2014

New FREE Handbooks: Guides to Basic Underwater Photography

We've developed some great <b>FREE</b> handbooks to help give you a basic guide to many aspects of underwater photography. Titled Guides to Better Underwater Photography these are easy-to-read articles with lots of example photos designed to get you out in the water trying new techniques quickly.

They give you basic concepts and practical tips that will help you get better photos; from how to get started, to more advanced lighting techniques. These are applicable to any type of system from compact to advanced DSLRs, whether you're just starting out, or have more experience - everyone will find some helpful information.
The Handbooks cover many different areas such as Starting Concepts, Composition, Choosing a Lighting System, Close Focus Wide Angle Photography and Maintenance. They are in .pdf format and are an easy way to quickly improve your knowledge and skills.

Tuesday, March 11, 2014

Underwater Camera Floods: Avoiding the High Water Mark
Underwater Camera Floods: Avoiding the High Water Mark

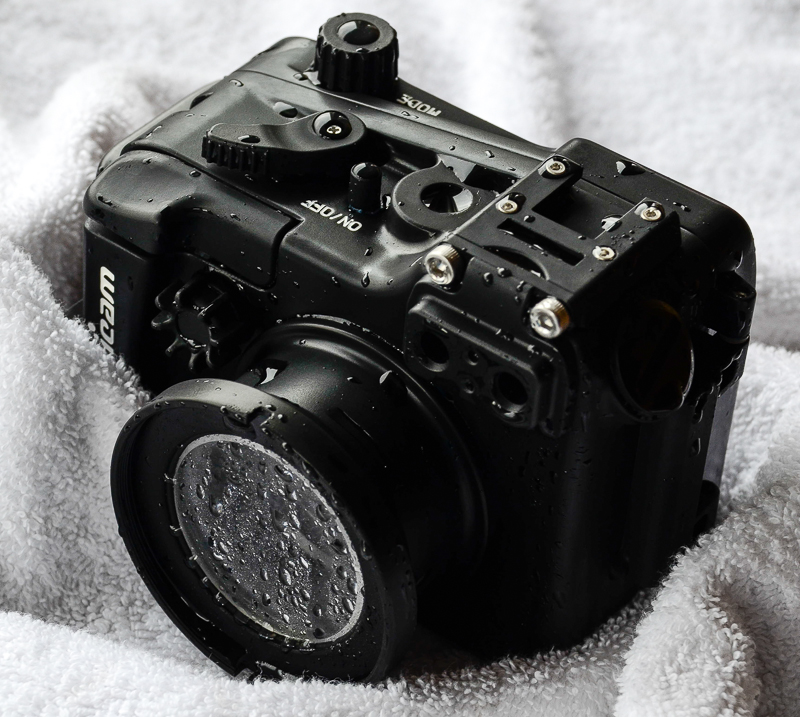
No subject scares underwater photographers more than having an expensive housed camera turn into an aquarium. Even a bit of water can turn electronics into a corroded mess.

Here are a few general tips on maintenance that should help you avoid finding Nemo in your housing:

1) Read the manufacturer’s instructions. Please carefully read through it. Housings all vary in care and feeding. For example, housings all have different depth ratings, or have carrying ways of adding a sync cord. Some have all the controls, many have fewer housing controls than on the camera, with some doing multiple actions. Some o-rings are not removable but need to be wiped off. Some housings have controls that are user-serviceable, some don't. Read the manual to find out.

2) O-rings are probably the most important and miss-serviced parts.
In addition to the large, noticeable oring on the back cover, every control has one or two, as well as the ports, and strobe or other bulkheads. Some are black, some are blue or grey, most should be serviced, and some should not.

If you don’t need to service an o-ring, don’t. A sealed o-ring will remain so unless disturbed, such as cleaning. A good example is a port: there is no need to service a port o-ring between dives if it is not removed or changed.

Sunday, March 9, 2014

Choosing an Underwater Photography Lighting System

What’s Right for You? – by Denise Kitchel

Why do I need a lighting system?

That might seem like a silly question, but it is not always obvious to people what factors are involved in determining how much lighting they need. There are a few things that determine the amount of color saturation and image clarity in underwater photography: depth, ambient light, and water clarity. By adding to the available natural light, you’ll be able to improve the color saturation, sharpness and clarity of your photos.

Underwater Depth and Color
Think about rainbows; they are a vision of light refracted into individual colors through rain (drops of water). So, it’s only natural that when we’re under water, colors change based on the light from above being refracted and absorbed by the water. Each color is a different wave length and energy level, which means that each color absorbs at a different rate.

Colors vanish underwater in the same order as they appear in the color spectrum.
  • Red – The first to disappear, you may see a noticeable difference in red at 5ft and a complete loss at 15ft.
  • Orange – The next to go, oranges will be lost at between 25 and 30ft.
  • Yellow – Next are yellows, which fade at 35 to 40ft
  • Green – The last to go are greens at anywhere between 50 and 75ft.
Keep in mind the impact of horizontal distance as well. If you are 10 feet underwater, and you are viewing an object that is 10 feet away, you are viewing the light that has reflected off of that object, which has actually travelled 20 feet to reach your eye. At that point, all of the reds will have been filtered out.

Similarly, the light from your system will have to travel 10 feet to the subject you’re shooting and reflect 10 feet back to the camera lens, for a total of 20 feet. Keep this in mind when setting up your shots. The closer you get, the better the color.

Mind Games
The interesting thing is that our brains are wired to compensate for the loss of color. We see a familiar object under water and we see red, because we know it is red, but when we take a photo of it with only natural light, there is no red. So, you actually need lighting when you don’t necessarily think you do.


Where do I start?
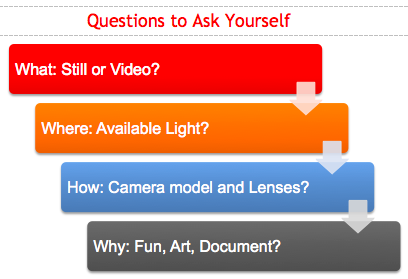
To choose the right underwater lighting system, you will have to think about a number of things: What kind of photography will I primarily be shooting, stills or video? What subjects will I be shooting? What will the available light be like where I dive? What kind of camera, housing and lenses will I be using? Why am I taking photos and what do I plan to do with them?

Once you have answers to these questions, you’ll be well on your way to picking out the right components you need in order to put together a lighting system that will take your photos to a whole new level!

Tuesday, February 11, 2014

Palau: Photography in Paradise


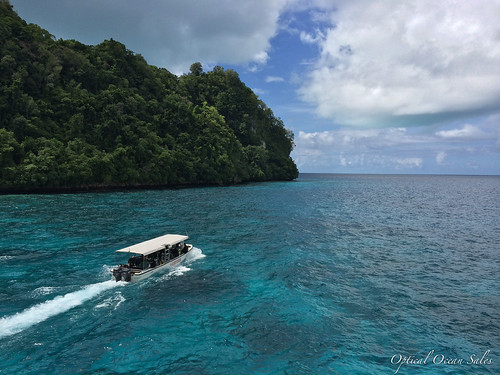
Fourteen underwater photographers joined Optical Ocean sales owner Jack Connick on an expedition to the Rock Islands of Palau in late November of 2013. After a long flight, they joined onboard the Palau Aggessor liveaboard on an extended, 10 day cruise.

Friday, November 1, 2013

Photo Expedition to the Socorros May, 2014!

For those of you who enjoyed my photos and article on the Socorros Islands, please join us on a Photo Expedition there May 23- June 1st 2014.

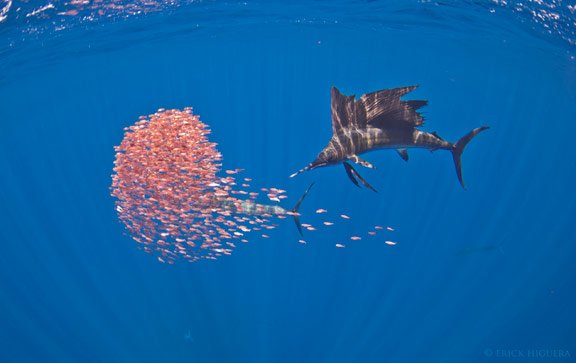
Optical Ocean Sales has organized a trip to go at a perfect time of year to find baitballs; schooling small fish that the predators encircle and feed on. These swirling “balls” of fish are attacked above and below water by sailfish, sharks, and dolphins - and are a mass of action for underwater photography.

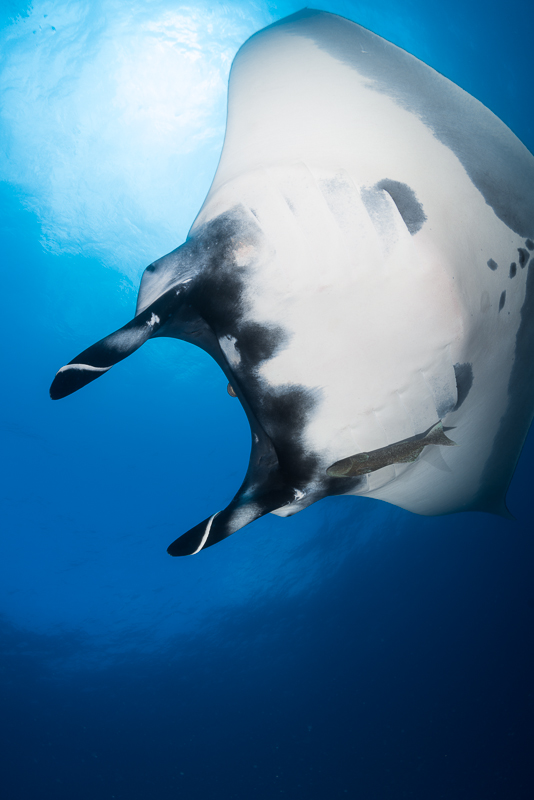
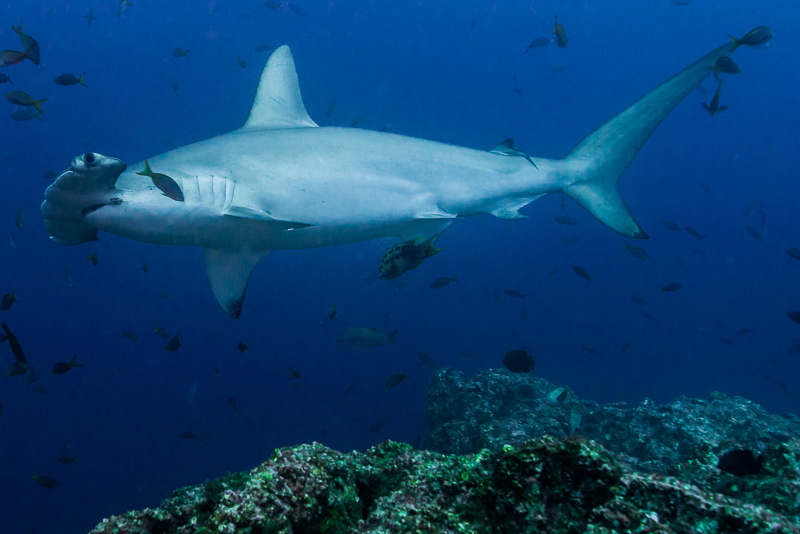
The Revillagigedos Islands, also known as the Socorro Islands, are located 250 miles offshore southwest of Cabo San Lucas, Mexico. They form an oasis for pelagic life amongst their volcanic shores. Many hammerhead and silky sharks, giant manta rays, dolphins, sailfish, schools of jacks and tuna come to feed, mate and get cleaned by small pandemic Clarion Angelfish.

These animals tend to be quite friendly towards divers at times, allowing for fantastic interactions and blue water photo opportunities.
This is also the time of year that huge schools of silky sharks are found at Roca Partida Island. These schools can literally block out the sun with their immense numbers.

Our expedition will be on the Solmar V, a luxury liveaboard, which has been sailing these waters for many years, with probably the most experienced and friendly crew around. Best of all, our head guide will be Erick Higuera, a biologist and photographer, who just won the Beneath the Sea “Stan Waterman Award for Underwater Video” for his film “Baja”. He has worked for many years on the Solmar and has extensive experience in the islands.

Both Martin Heyn and myself will be on board and we plan on being available to help you get the most from this fantastic photo opportunity.  The cost is $3395/$3495 and is all-inclusive; just get yourself to Cabo San Lucas and we do the rest! Our trip flyer is here. Get more details and sign up today at the webstore!

Translate